
7-item new construction inspection checklist for Calgary homebuyers
Buying a newly built home is exciting and fast paced. To protect your investment and your warranty rights, independent inspections at the right milestones will catch issues the builder or municipal permit checks may not prioritise. This 7-item new construction inspection checklist maps what to check at pre-drywall, final walkthrough, and the near-11-month warranty window, shows when to add drone or infrared scans, and explains how an independent inspector like Spot On Inspections & Reviews documents findings in a same-day, photo-rich report.
Best practice is to perform targeted inspections at key build milestones rather than one generic visit. Independent inspectors focus on build quality and functional performance beyond code minimums, while municipal inspectors confirm basic permit compliance. The advice below follows industry checklists and buyer guidance for new construction reviews (see recommended resources from BuildTB and InspectandTest) and is tailored for buyers in Calgary, Airdrie, Chestermere, and surrounding communities.
1) When to book: three must-have inspection milestones and who does what
Schedule these three independent inspections to get the most value from the new construction inspection checklist:
- Pre-drywall / after framing and rough-in, inspect framing, roof trusses, fasteners, and mechanical rough-ins before drywall closes the walls. Catching problems here is highest value because corrections are easiest and least expensive. This mirrors standard practice to do a pre-drywall check in addition to municipal permit inspections (guidance on pre-drywall and final checks).
- Final walkthrough / before closing or occupancy, verify finishes, operation of doors and windows, trim and paint, and completed mechanical commissioning. Use this inspection to build a deficiency list for the builder to address before possession.
- Warranty or 11-month inspection, book a targeted review near the end of your builder warranty to catch items that appear after occupancy and seasonal performance changes. A structured field checklist helps you capture items before warranty deadlines expire (reference checklist practice).
Who attends and who is responsible: municipal inspections confirm code compliance at discrete stages, and builders sign off on their workmanship. An independent inspector documents defects objectively for the buyer. If you face a tight closing timeline, prioritise a pre-drywall and a final inspection and ask the inspector for a same-day digital report to support condition-removal decisions.
2) Roof and exterior checks: why a drone scan matters before drywall and before closing
Exterior failures cause many expensive repairs. A concise roof and exterior checklist for new construction includes:
- Roof covering, ridge and valley flashing, and secure fasteners.
- Flashing at penetrations, chimneys, vents, and wall intersections.
- Gutter attachment, downspout routing, and grade and drainage away from foundations.
- Cladding attachments, siding seams, window flashing, and soffit vents.
- Exterior trim caulking, patios, decks, and visible exterior penetrations.
When to use a drone roof inspection
Drone roof inspections are useful when roofs are steep, access is limited, or you need a high-resolution record of flashing and shingle installation. Drones reduce ladder work and produce photos and video that support repair requests. Spot On uses drone roof scans as part of advanced inspections to capture issues that are otherwise hard to photograph from the ground (Spot On Inspections & Reviews).
3) Structure and framing: the pre-drywall priority list
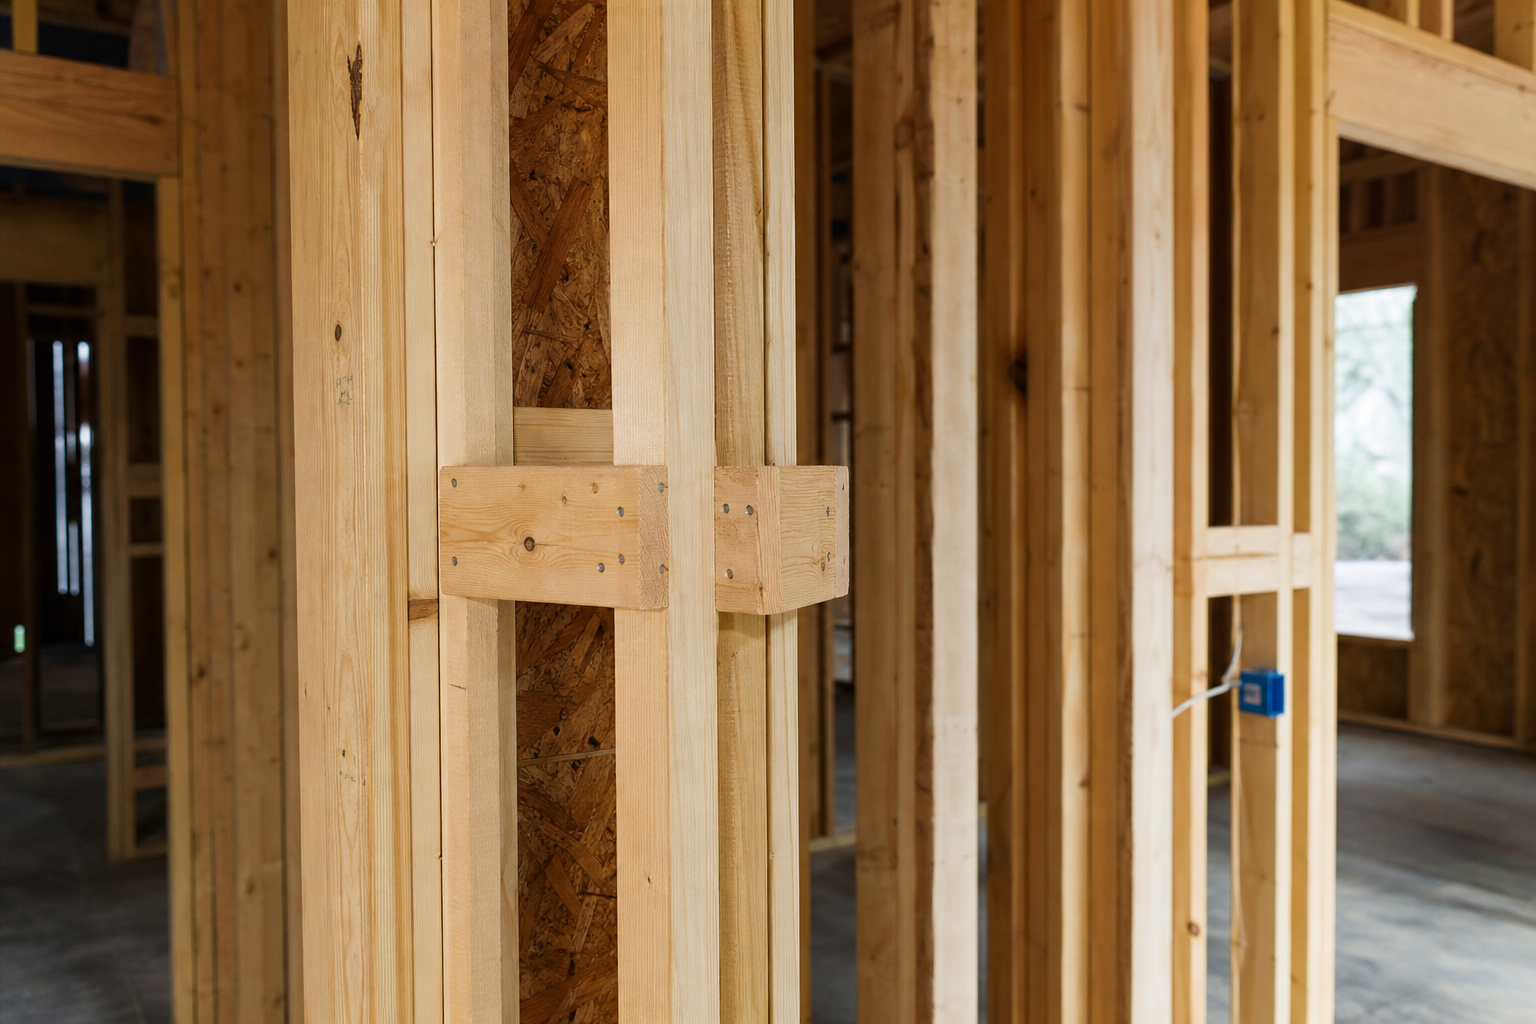
Before drywall is installed, the inspector can see the structure and routing for mechanicals. Key items to check include:
- Framing alignment, plumb and level walls, and straightness of studs and plates.
- Load paths and engineered components such as beams, headers, and truss connections.
- Installation and nailing pattern for roof sheathing and subfloor attachment.
- Fasteners, connectors, and joist hangers that match design and manufacturer instructions.
- Visible moisture, staining, or untreated pest evidence in framing cavities.
Catching framing or connection issues before drywall preserves access to make corrections. Independent pre-drywall inspections focus on build quality and on items municipal inspections may not emphasise, such as manufacturer-specific fastener patterns or correct engineered component placement (building milestone best practices).
4) Mechanical systems checklist: plumbing, electrical and HVAC with thermal imaging notes
Mechanical systems have two important windows: rough-in and finished commissioning. Use the following checklist for both phases:
- Plumbing rough-in: correct pipe routing, proper support, slope on waste lines, and visible pressure or leak tests where practical.
- Electrical rough-in: service size at the meter, panel location, correct breaker labelling, proper grounding and bonding, and wiring routing.
- HVAC: equipment mounting, refrigerant line routing, vent and duct routing, and visible insulation on all necessary runs.
- Safety devices: smoke and carbon monoxide alarm locations and hardwired interconnections where required.
- Post-installation checks: condensate routing, flue terminations, and balanced supply and return airflow.
Where infrared thermal imaging helps
Infrared thermal imaging is excellent for finding missing insulation, cold spots around windows and doors, and duct leaks or thermal bridging after mechanical systems are operating. Thermal scans help prioritise repairs that affect energy use and moisture risk. Spot On includes thermal scans when appropriate to highlight energy or moisture risk areas in a same-day report (Spot On Inspections & Reviews).
5) Interiors, finishes and moisture control: what to check at the final walkthrough
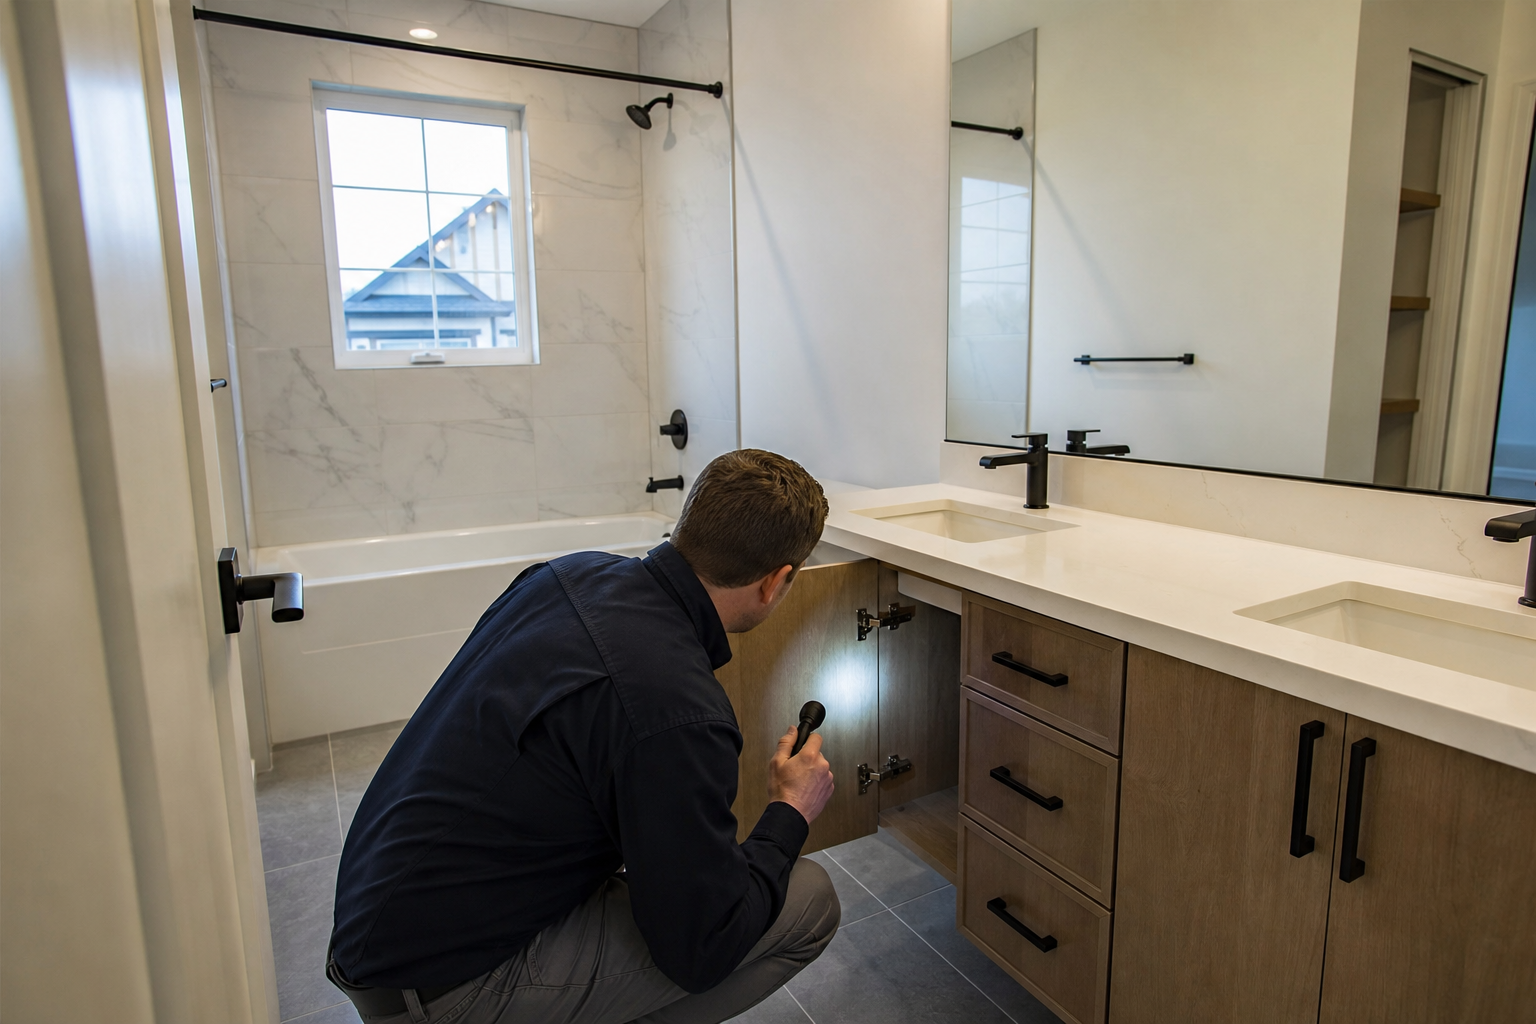
During the final walkthrough focus on operation and final fit rather than cosmetic preferences alone. Critical final-stage checks include:
- Window and door operation, sealed unit condition, and hardware alignment.
- Flooring transitions, tile flatness, grout coverage, and soft spots on subfloors.
- Cabinet installation, drawer alignment, countertop seams, and appliance hookups.
- Trim and paint finish quality, caulking at wet areas, and consistent door reveals.
- Moisture signs: drywall bubbles, stains, musty odours, or floor-level staining near wet areas.
If you observe moisture indicators or incomplete caulking at wet areas, document them with photos and request repair verification. A professional inspector will note whether issues are cosmetic or likely to affect function or durability and recommend follow-up verification after repairs.
6) Documentation, permits and warranties: the paper checklist every buyer needs
Collect these documents from the builder and keep them with your purchase records:
- Municipal permit records and final inspection sign-offs.
- As-built drawings, equipment manuals, and commissioning or test reports.
- Written builder warranty terms and any separate manufacturer warranties for appliances and systems.
- Change-order documentation and receipts for upgrades or deviations from the original plan.
Why this matters: warranty windows and proof of proper maintenance or commissioning are essential if you need to file a claim. Buyers often schedule an 11-month or new home warranty inspection to capture defects before warranty expiration; Spot On offers a dedicated new home warranty inspection service to assist with that timing and documentation.
7) How to act on findings: prioritising fixes, negotiating with the builder, and re-inspections
After your independent inspection, follow a disciplined approach:
- Prioritise safety and water intrusion items first, structural and mechanical issues second, and cosmetic items last.
- Use the inspector’s report and annotated photos to create a clear deficiency list to present to the builder.
- Negotiate remedies: request repairs before closing where practical, negotiate a documented holdback for outstanding items, or arrange staged repairs with re-inspection dates.
- Schedule a re-inspection after repairs and before your warranty deadline to confirm adequacy of corrective work.
Decision criteria for hiring an independent inspector include certification and local experience, a same-day photo-rich report to meet tight closing windows, and the use of advanced tools such as drone roof scans and infrared thermal imaging. Spot On Inspections & Reviews lists same-day digital reports, drone inspections, and thermal imaging among its service advantages and offers pricing transparency to help buyers budget for inspections. For service details visit Spot On Inspections & Reviews.
Frequently asked questions
How much does a new construction inspection cost in Calgary and when should I budget to have one done?
Spot On publishes current service details on the website and provides same-day reports. Typical inspection fees vary by scope and by use of specialised tools. Budget to book the pre-drywall and final inspections so you meet closing and warranty timelines, and consider the 11-month inspection before your warranty expires (Spot On Inspections & Reviews).
If the municipality and builder have already inspected the work, do I still need an independent pre-drywall or final inspection?
Yes. Municipal inspectors focus on code compliance, and builders focus on their contract deliverables. An independent inspector evaluates workmanship quality, manufacturer-specific installation, and long-term performance risks that municipal checks may not prioritise (industry guidance on independent checks).
When should I schedule the pre-drywall inspection to get the most value from it?
Book the pre-drywall inspection immediately after framing, roof sheathing, and mechanical rough-ins are complete but before insulation and drywall go in. That timing gives the inspector full visual access to structure and routing and preserves the opportunity for straightforward corrections.
What can a drone roof inspection or infrared thermal scan find that a visual check will miss?
Drones capture high-resolution photos of flashing, ridge details, and areas that are hard to access safely. Infrared thermal imaging finds missing insulation, duct leaks, and thermal bridging that are not visible to the naked eye. Both produce evidence you can attach to a deficiency request and to warranty claims (Spot On Inspections & Reviews).
Will having an independent inspection affect my builder warranty or my relationship with the builder?
Independently documenting defects does not void a warranty. A professional inspection produces an objective record to support repair negotiations or warranty claims. Approach the builder with the report, photos, and clear requests for remediation. If the builder is cooperative, use the report to schedule repairs and re-inspections before warranty deadlines.
Next step: If you are on a build timeline or approaching your 11-month window, book a pre-drywall, final, or new home warranty inspection with Spot On Inspections & Reviews to get a same-day, photo-rich report and expert recommendations. Visit Spot On Inspections & Reviews to learn more or schedule an inspection.